
A clean Ubuntu Server installation, current packages, working local-network SSH access, and a basic host firewall. This is a starting point for a home or small lab server.
This walkthrough uses Ubuntu Server LTS on a dedicated machine or virtual machine. The installation screens can vary by release; use the current official LTS image for your machine’s architecture. For the Docker follow-up, the current documented Ubuntu choices include 26.04, 24.04, and 22.04 LTS.
1. Prepare before installing
For a small learning server, 4 GB of memory and a 40 GB system disk give you a practical starting point. Media storage is separate from that recommendation. Virtual machines are a good way to practice without dedicating a physical computer.
- A computer or VM with a supported CPU architecture.
- A wired network connection, if possible, and internet access for updates.
- A USB drive for a physical install, or an ISO attached to your VM.
- A backup of any files on the target disk.
Check the target drive’s model and capacity before accepting the installer’s storage changes. If practical, disconnect drives you do not want the installer to touch. Take the same care when writing the installer image to a USB drive.
2. Download and boot Ubuntu Server
Download the Server ISO from Ubuntu’s official download page. Select the architecture that matches your hardware, ordinary Intel and AMD PCs generally use amd64. Compare the download with Ubuntu’s published checksum using the linked verification instructions before writing it.
Use your USB imaging tool’s image-writing option to write the ISO to the USB drive. Copying the ISO file onto a normal USB filesystem does not create a bootable installer. For a VM, attach the ISO to its virtual optical drive and select it as the boot device.
Boot into the installer and choose the normal Ubuntu Server installation. If you see an option to update the installer, you can accept it while online. Follow the official installation walkthrough if your release’s screen labels differ.
3. Work through the installation screens
| Screen | A useful starting choice |
|---|---|
| Language & keyboard | Choose the layout you actually use; a wrong keyboard layout makes passwords frustrating. |
| Network | Use DHCP on your wired interface. Confirm it receives an address. |
| Proxy & mirror | Leave proxy empty unless your network requires one. Use the proposed archive mirror if it works. |
| Storage | For an empty, dedicated system disk, guided storage is a simple choice. Verify every disk and partition shown before confirming. |
| Profile | Create your own account and strong password. Example names such as labadmin and lab-server are placeholders. |
| SSH | Select the OpenSSH server option for local remote administration. |
| Optional software | A minimal first system is easier to understand. Add applications later when you need them. |
Let installation finish. Reboot when prompted and remove the installer USB or detach the ISO so the machine boots from its system disk. Log in with the account you created.
4. Update and check your new system
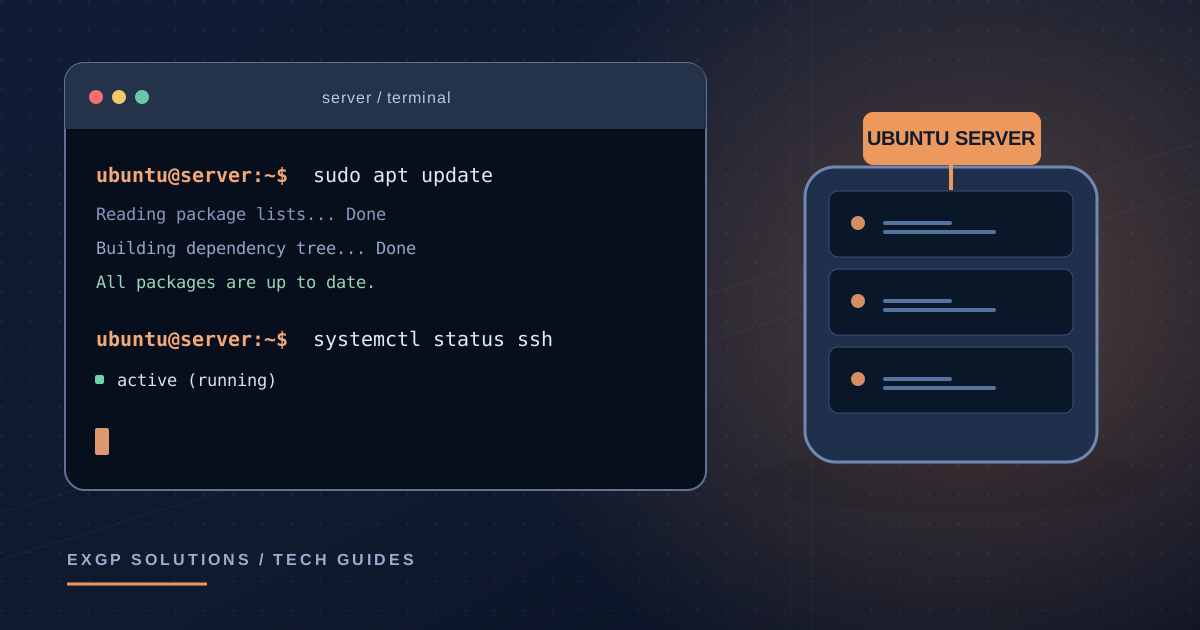
Refresh the package list, then install available upgrades. Read the proposed changes before confirming:
sudo apt update
sudo apt upgrade
If the upgrade reports that a reboot is required, reboot when no work is running. Then collect a few useful facts:
cat /etc/os-release
hostname -I
df -h
free -h
systemctl --failed
You should see the expected Ubuntu release, a network address, sufficient free disk space, and no unexplained failed services. A machine can have multiple addresses; select the address belonging to your normal LAN interface. Keep your own results for your records rather than publishing them with a tutorial or help request.
Ubuntu’s package-management documentation explains how APT handles updates and package installation.
5. Get SSH working from another computer
If you did not choose OpenSSH during installation, install it now. Check that the service is running:
sudo apt install openssh-server
sudo systemctl enable --now ssh
sudo systemctl status ssh --no-pager
From a second computer on the same network, open its terminal or PowerShell. Replace YOUR_USER and SERVER_LAN_IP below with your actual account and server address:
ssh YOUR_USER@SERVER_LAN_IPFor a first connection, compare the displayed host-key fingerprint with the server’s fingerprint through its local console. This command displays the server’s Ed25519 host-key fingerprint:
sudo ssh-keygen -lf /etc/ssh/ssh_host_ed25519_key.pubAccept the host key only when it matches, then enter your account password. A successful login confirms the address, SSH service, and credentials all work.
For regular use, create an Ed25519 key on your client with ssh-keygen -t ed25519 and a passphrase. Keep the private key on that client; install only the .pub public key on the server. Linux clients with ssh-copy-id can use ssh-copy-id YOUR_USER@SERVER_LAN_IP. Follow Ubuntu’s OpenSSH guide for other clients. Test a fresh key-based login before changing password-authentication settings.
6. Set a basic network baseline
For a fresh server with SSH on its default port, allow the OpenSSH application profile before enabling UFW. Keep a working console or existing SSH session available while you check access:
sudo ufw allow OpenSSH
sudo ufw enable
sudo ufw status verbose
Open a second SSH session to confirm you can still connect. If you have already changed SSH’s port or installed other services, review the needed rules first. The Ubuntu firewall guide covers UFW in more detail.
A DHCP reservation in your router can keep this server’s LAN address consistent without changing Ubuntu’s network files. Do not add a router port-forwarding rule for this walkthrough; administration stays on your local network.
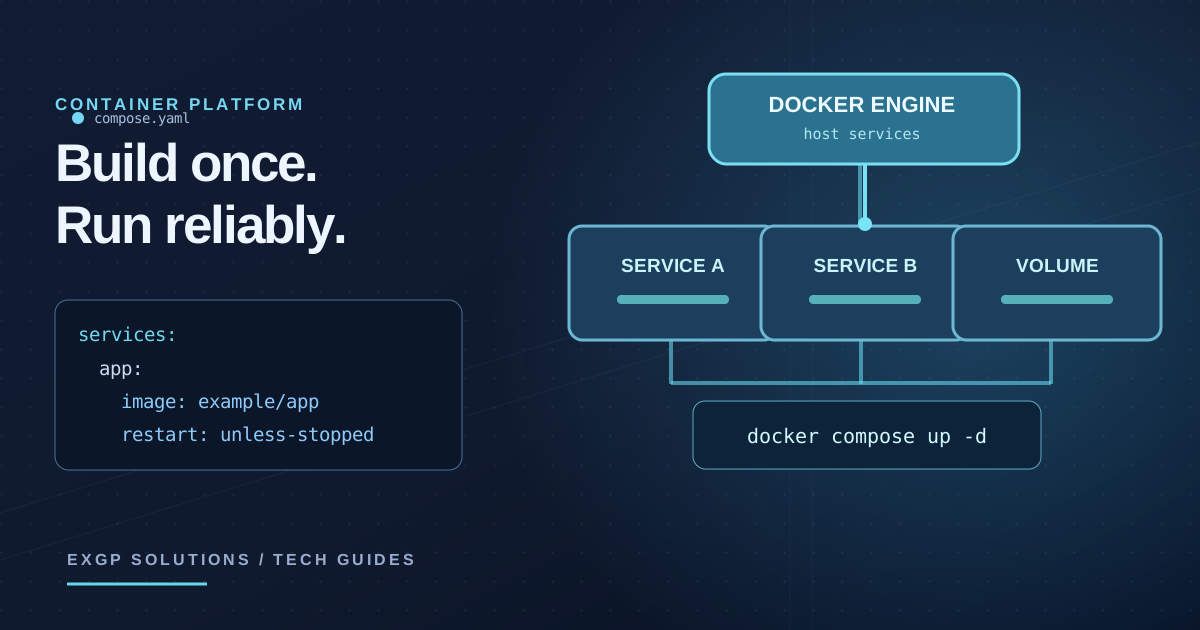
Docker publishes ports through its own firewall rules. Ordinary UFW rules do not reliably restrict those published ports. Review Docker’s firewall documentation before adding a network service.
7. Confirm you’re ready for the next project
- The system boots without the installer attached.
- Package updates complete successfully.
- You can open a new SSH session from another LAN computer.
- You know the server’s current address and how to reach its console.
- You have a place to store backups separately from the server.
If something does not work
| Symptom | Check first |
|---|---|
| No network address | Check the cable or VM network adapter, then ip -br address and ip route. |
| SSH connection refused | Check the address and systemctl status ssh from the server console. |
| SSH times out | Confirm both computers can reach the same network. Guest Wi-Fi and client isolation can prevent local access. |
| Password does not work | Verify the username and keyboard layout at the local console. |
| A service failed | Inspect journalctl -u SERVICE_NAME for that service. Remove private information before sharing logs. |
Sources & further reading
The commands and examples in this guide are written for a generic installation. Consult the official documentation for release-specific changes.