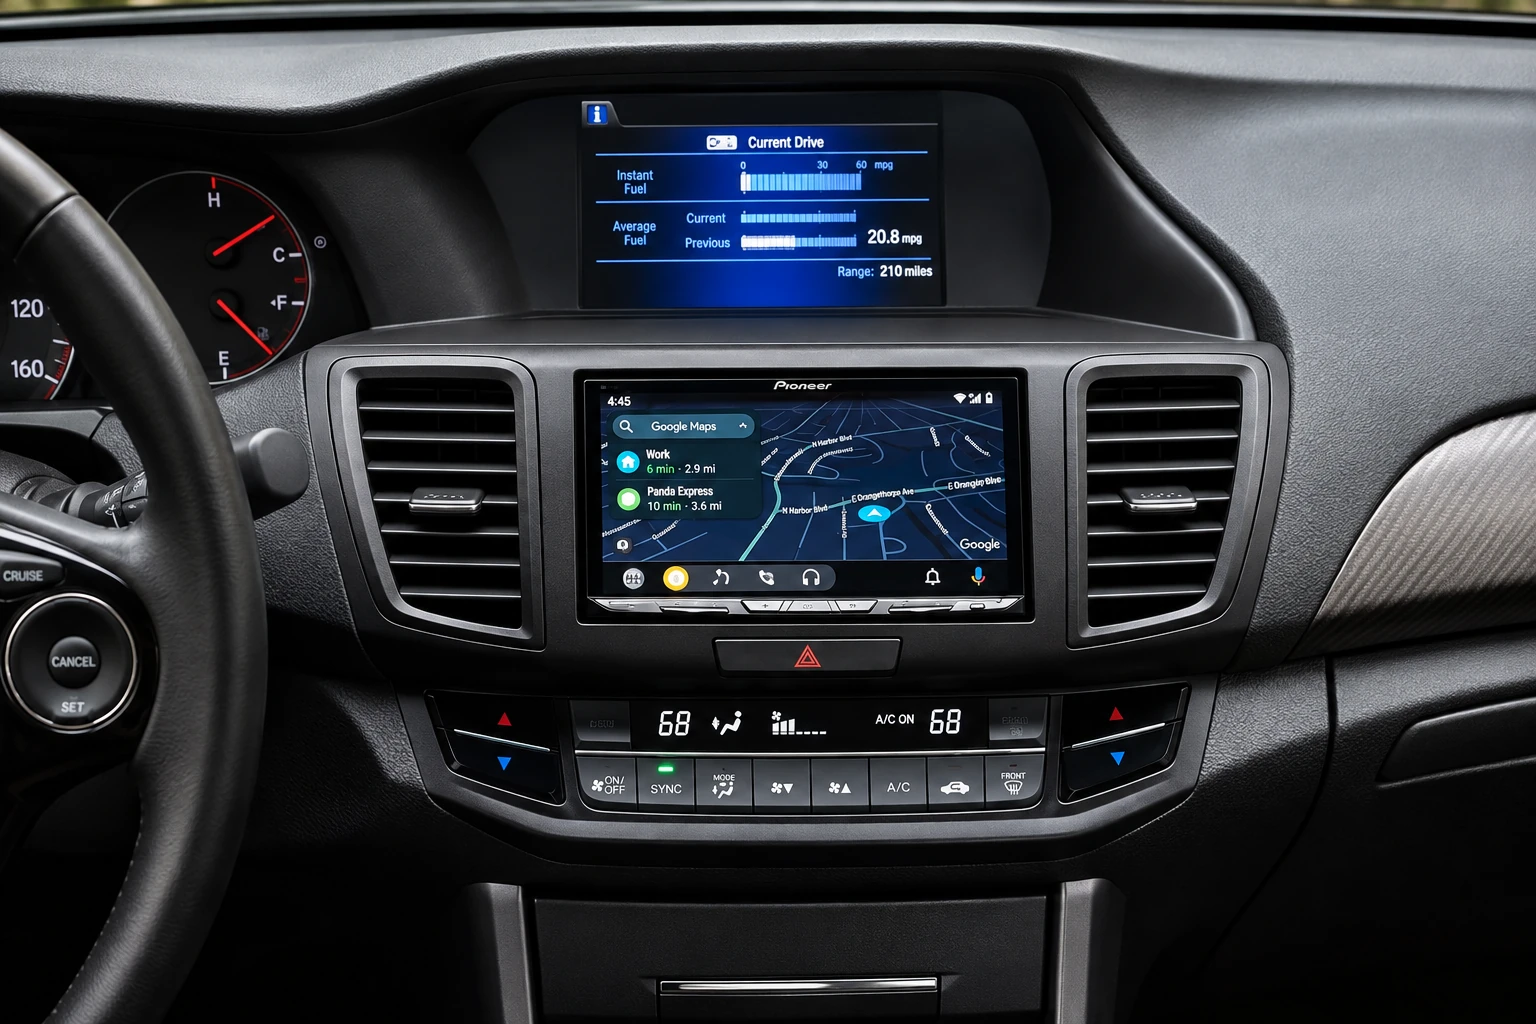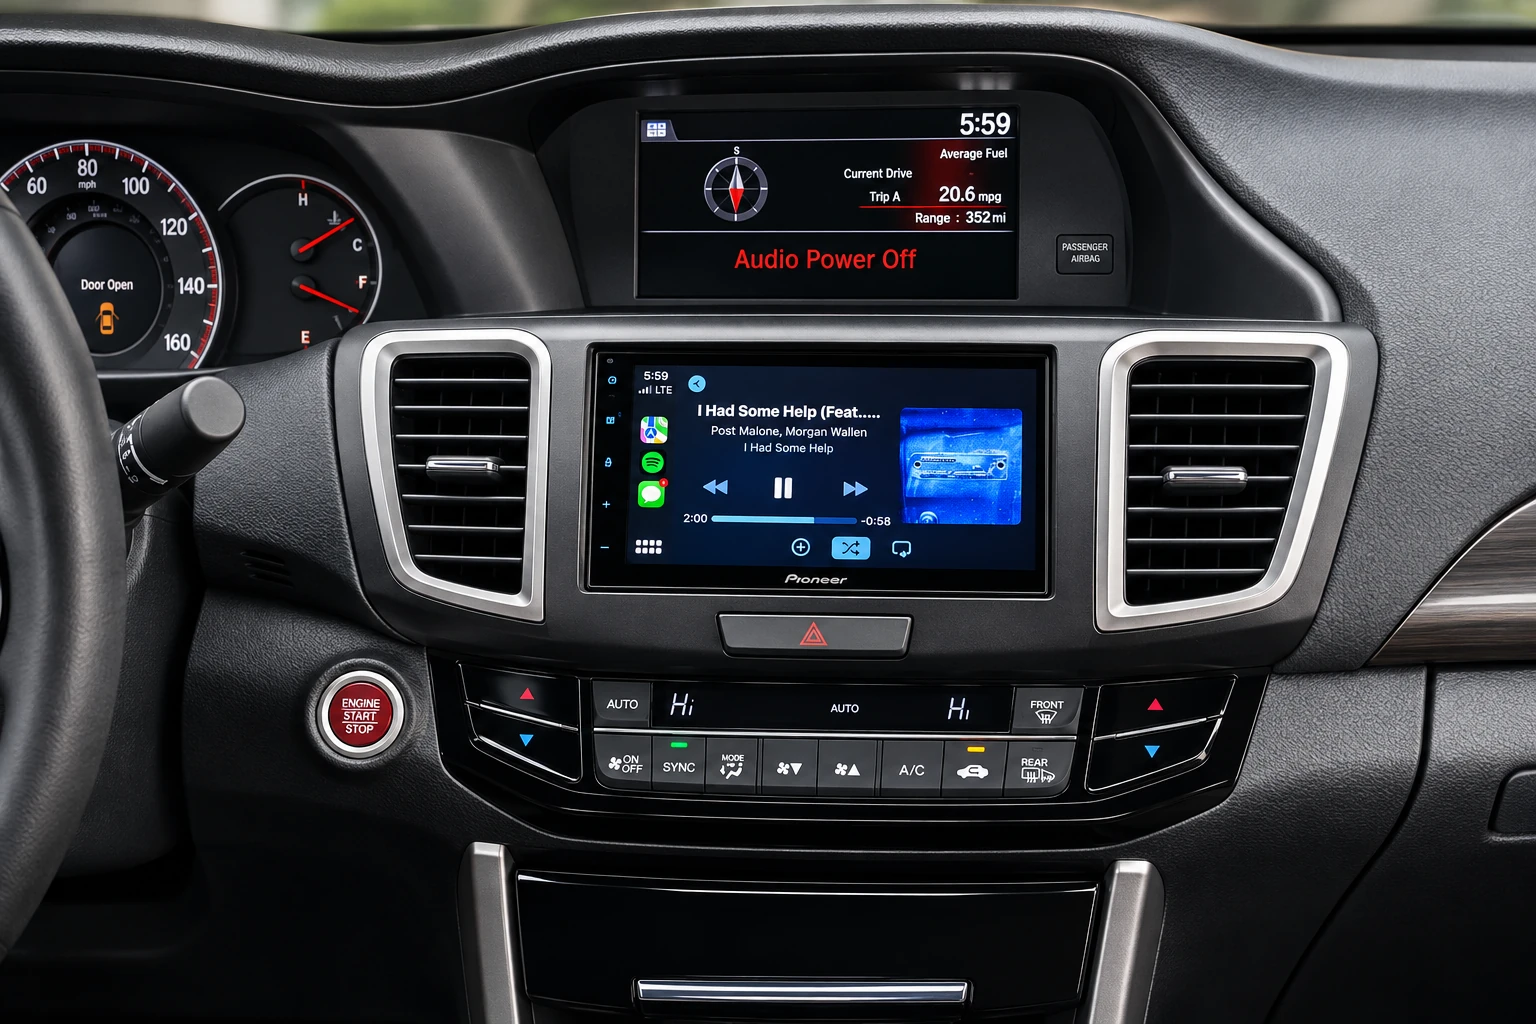

Check your Accord’s model year, trim, factory navigation/audio equipment, and the exact ExGP harness configuration. The photos are from ExGP kit manuals and may show different factory-radio variants. This work includes vehicle trim removal and modifications to interior plastic or radio hardware; avoid cutting or disconnecting components unless you have confirmed the correct procedure for your vehicle. Never power exposed electronics while handling or modifying circuit boards.
Use the standard 9th-generation harness article for the shared installation steps. This separate supplement addresses the EX-L non-navigation touchscreen receiver, with fourteen original radio-reduction photos and the exact initialization sequence provided for this variant.
What makes this EX-L installation different?
The 2013-2015 EX-L non-navigation touchscreen radio uses an IC card and ribbon-cable assembly associated with factory-touchscreen operation. The factory receiver remains in the dash after the aftermarket radio is installed, but its housing must be reduced to fit.
The standard 2013-2015 installation guide still supplies the common dash removal, harness identification, illumination, and HFL wiring steps. Use this supplement for the different radio reduction and security initialization , rather than combining procedures from different radio variants.
Do not disconnect the IC card or the ribbon cable linking it to the factory radio. The factory touchscreen depends on that assembly. Route the ribbon so it cannot be pinched or pulled when moving the receiver.
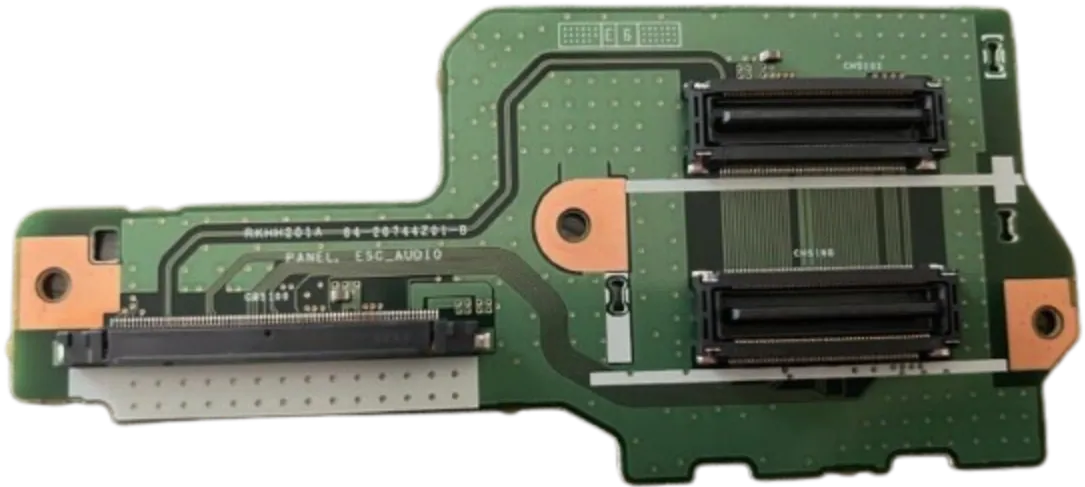
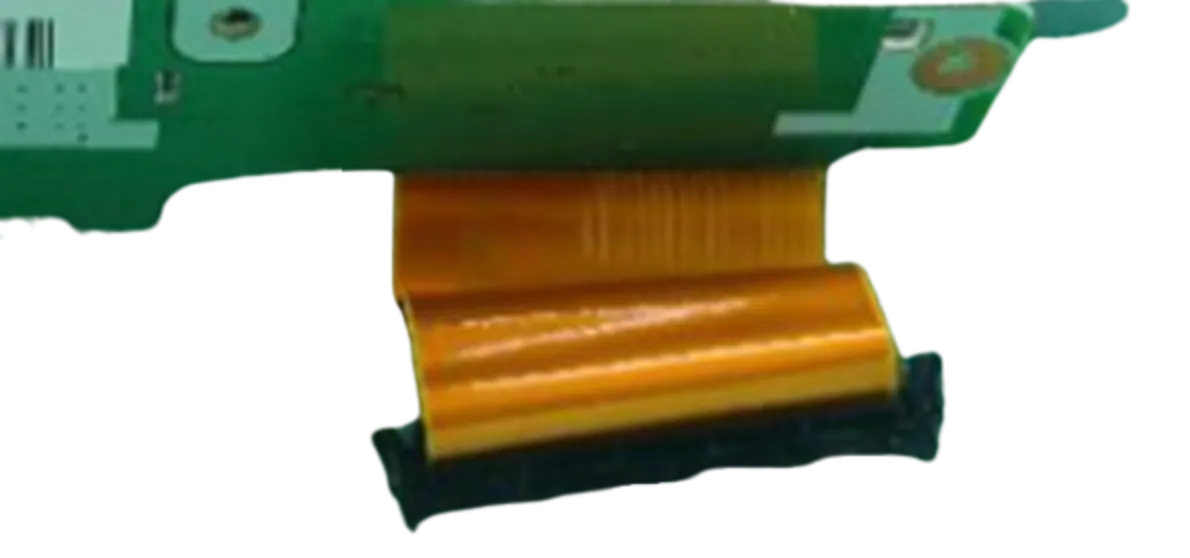
Radio reduction: photo reference gallery
The supplied Premium Audio document consists of fourteen photos, without accompanying written step captions. These are organized below into visual stages rather than presented as an unverified screw-by-screw disassembly procedure. Match your receiver and components before altering them.
Factory enclosure and module
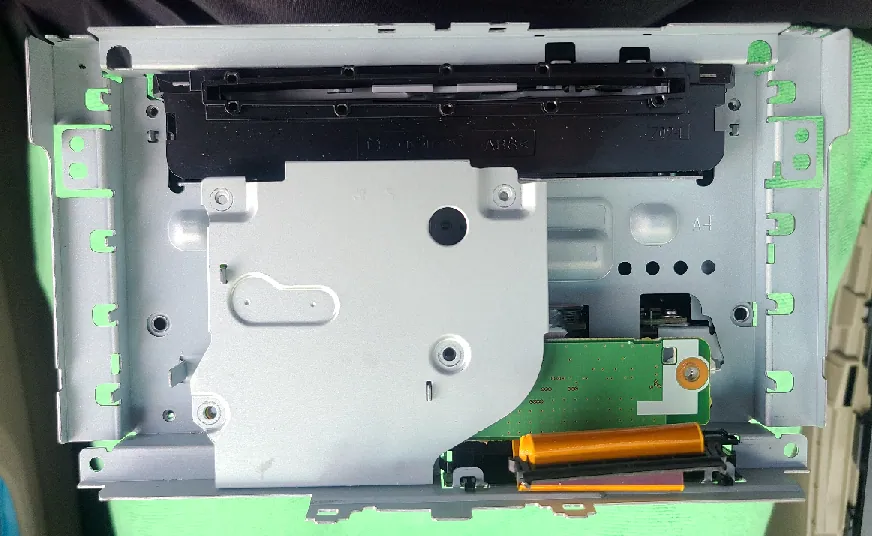
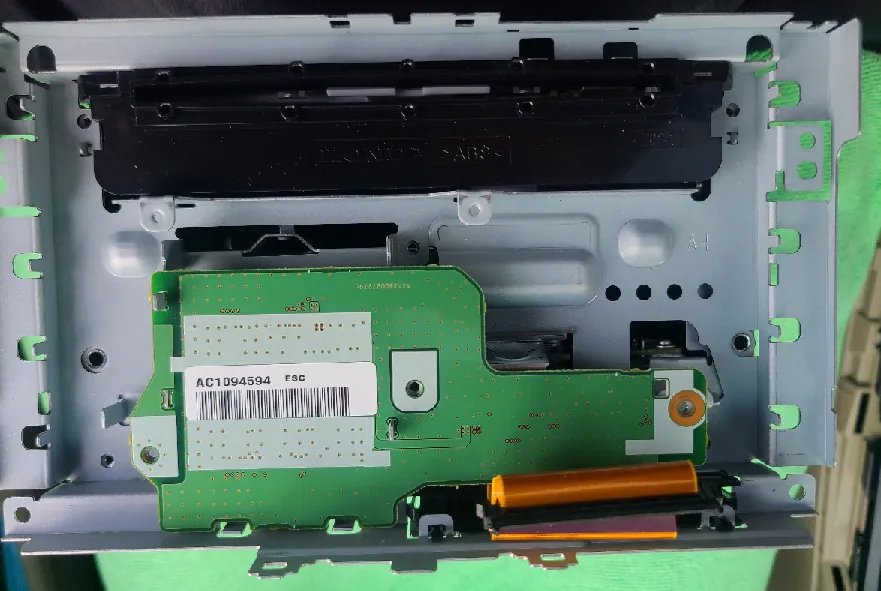
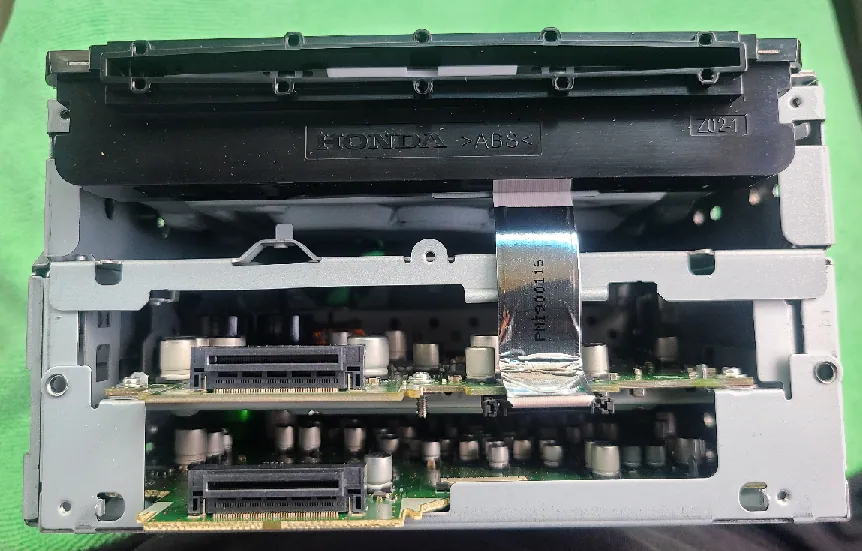
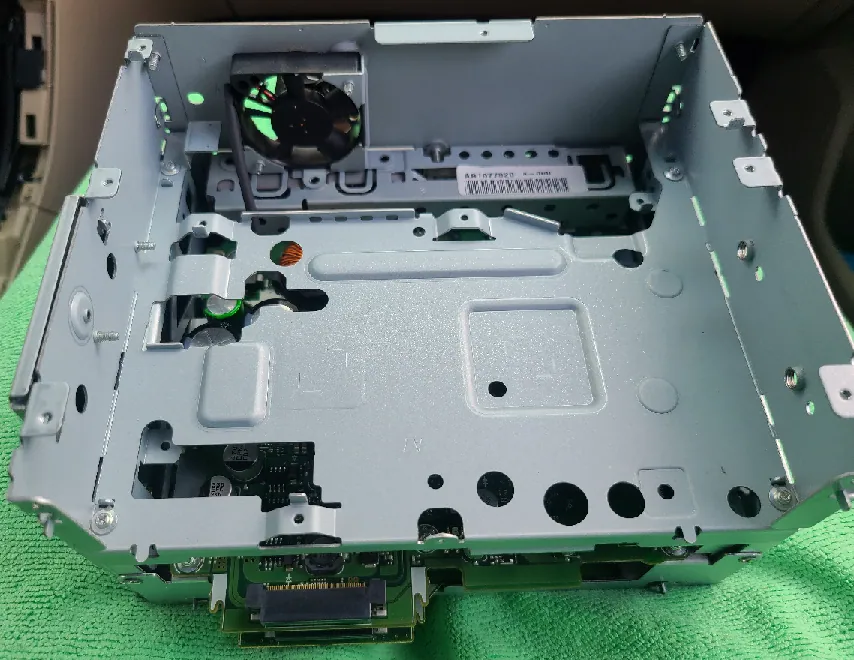
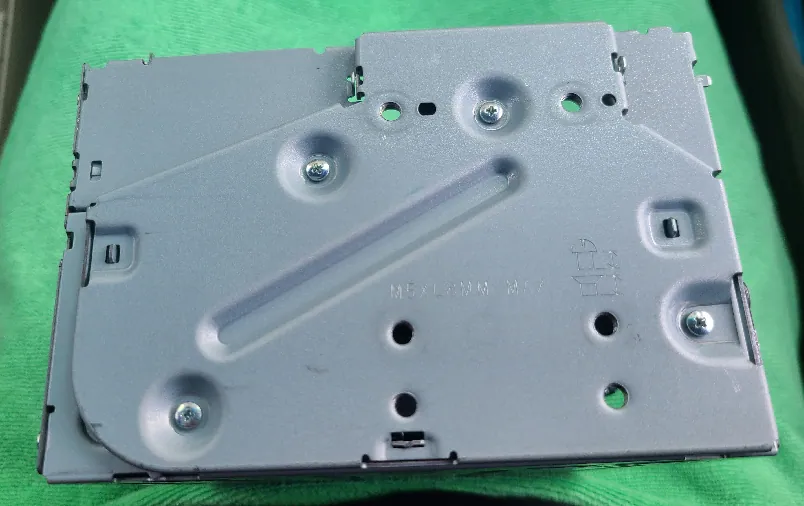
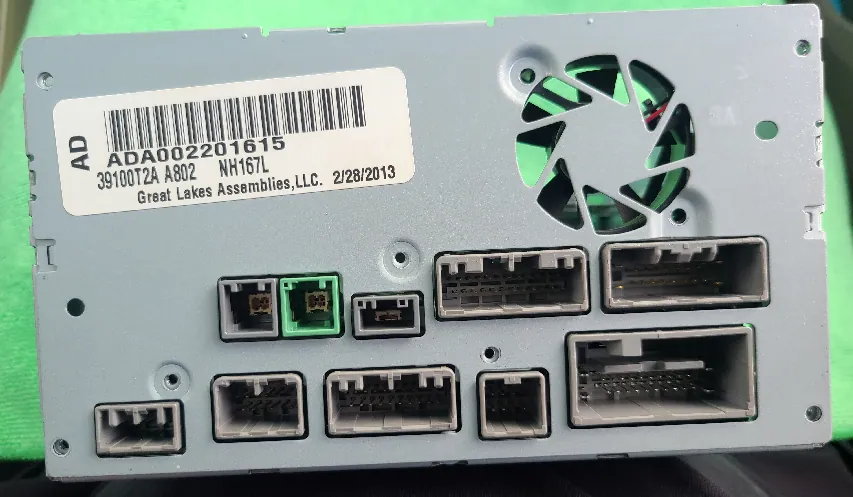
Reduced chassis and IC-card position
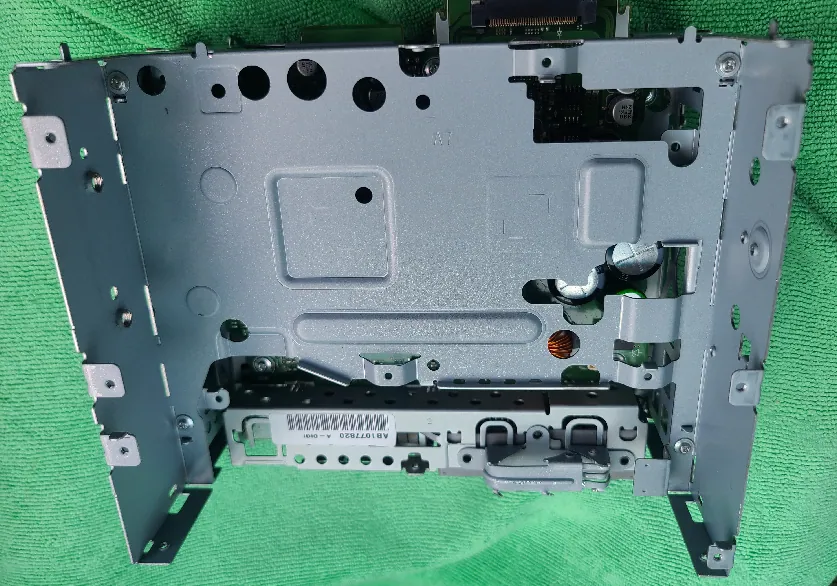
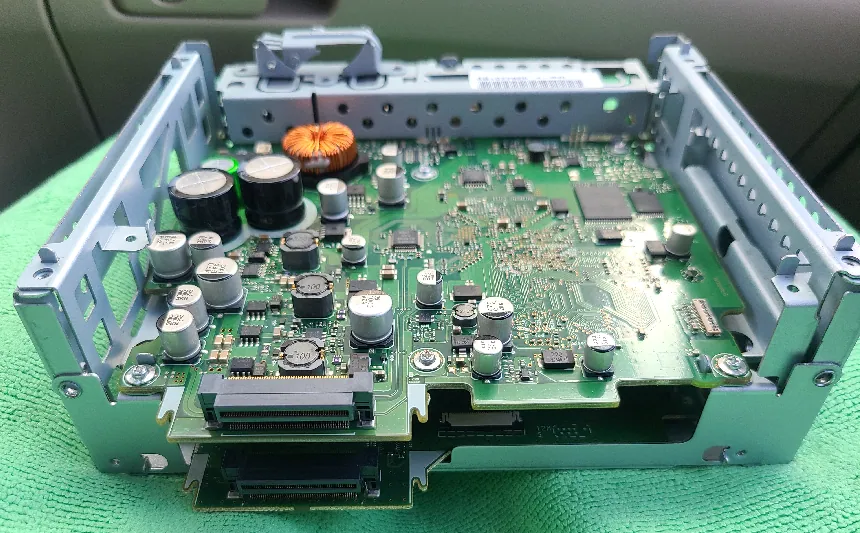
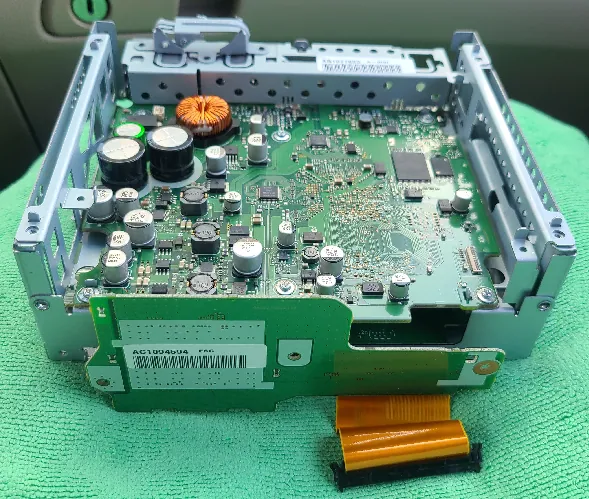
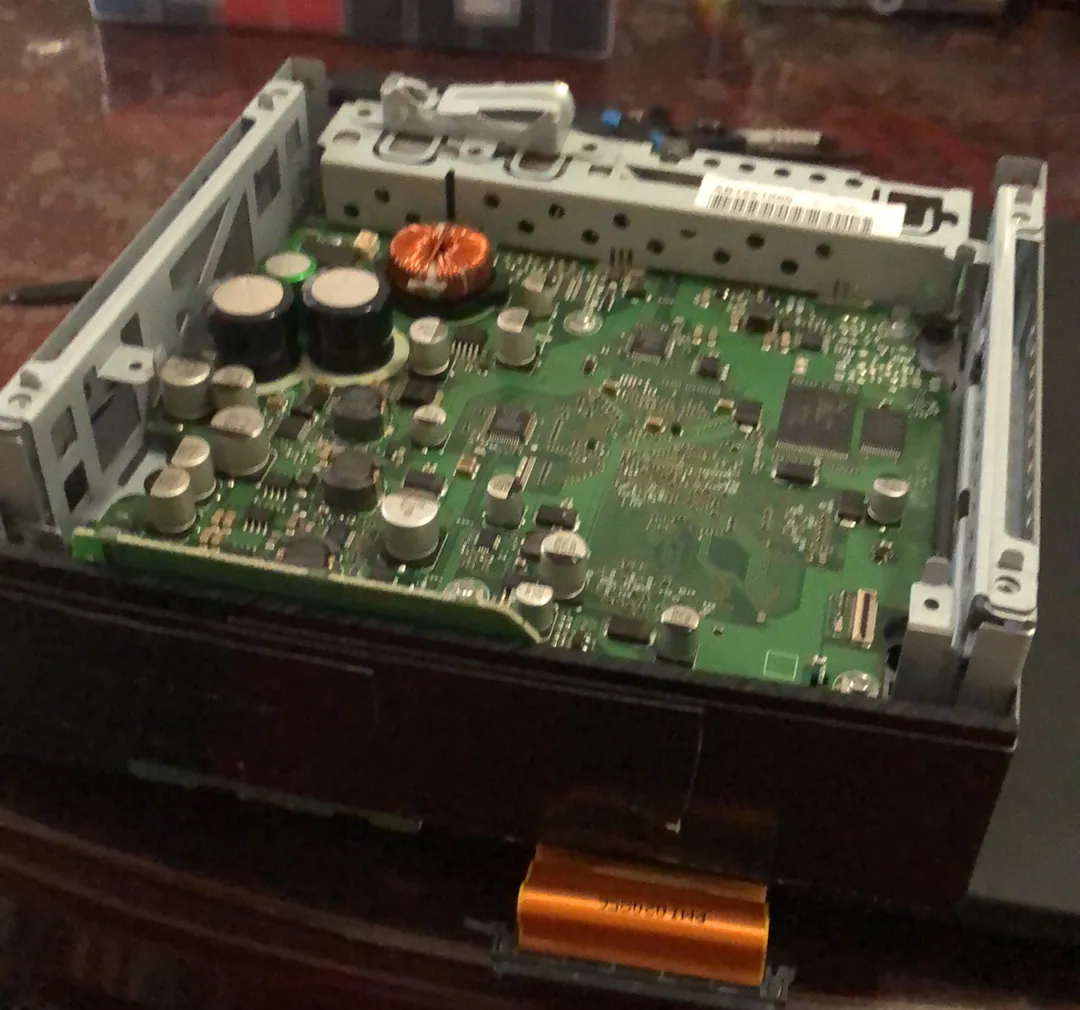
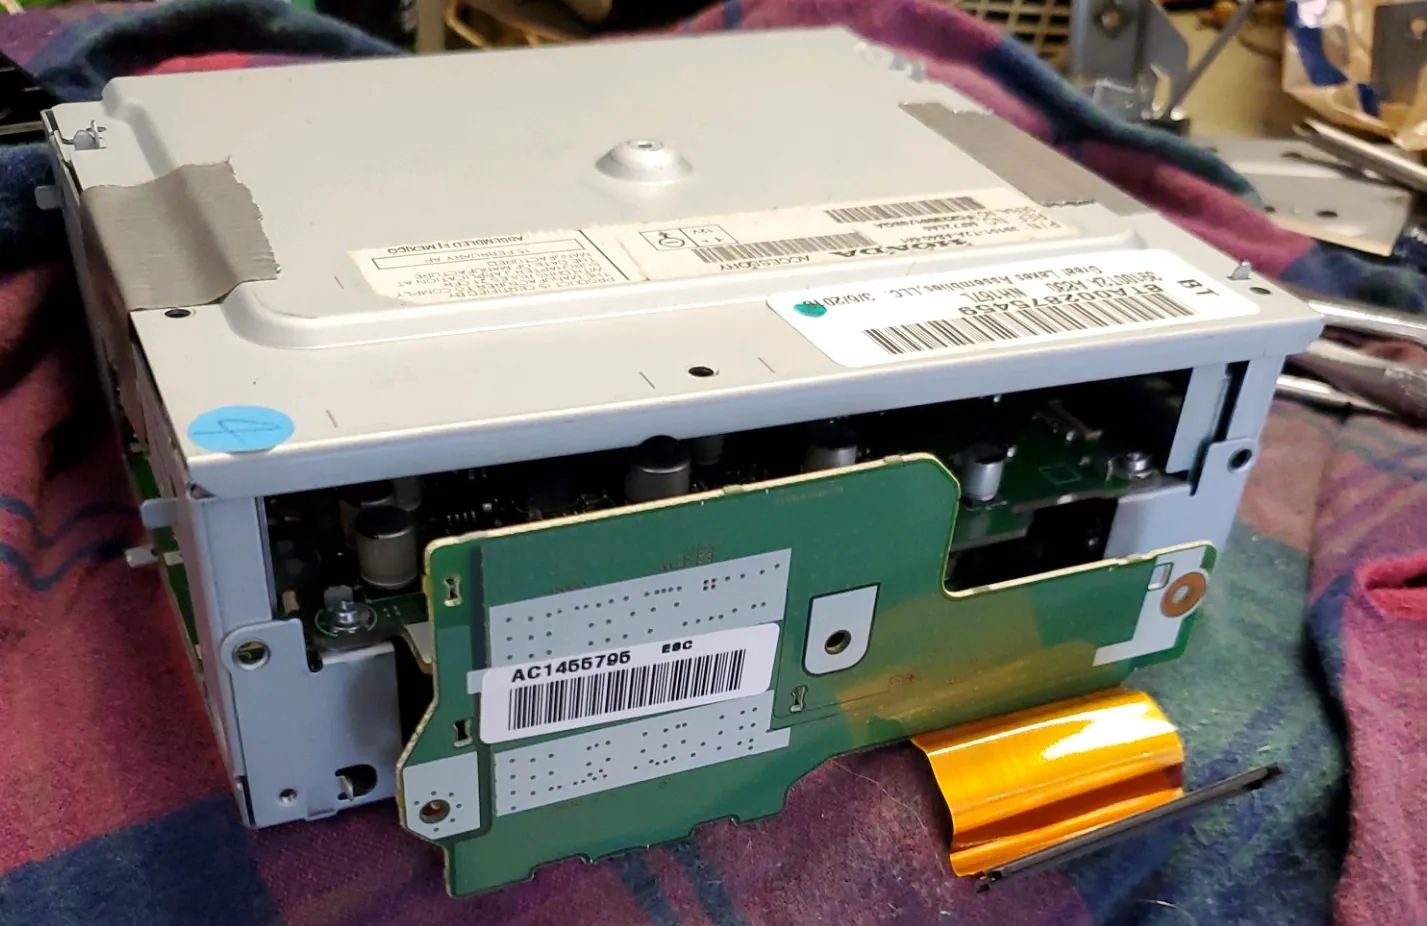
Placement and cable clips
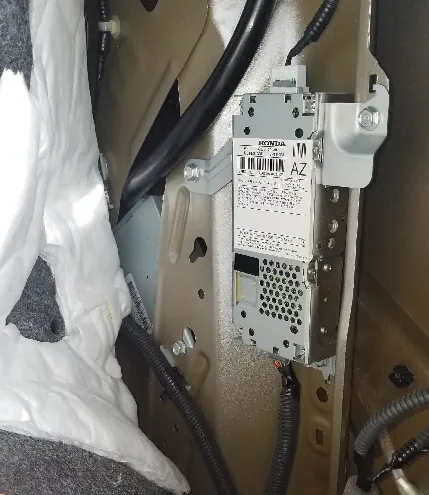
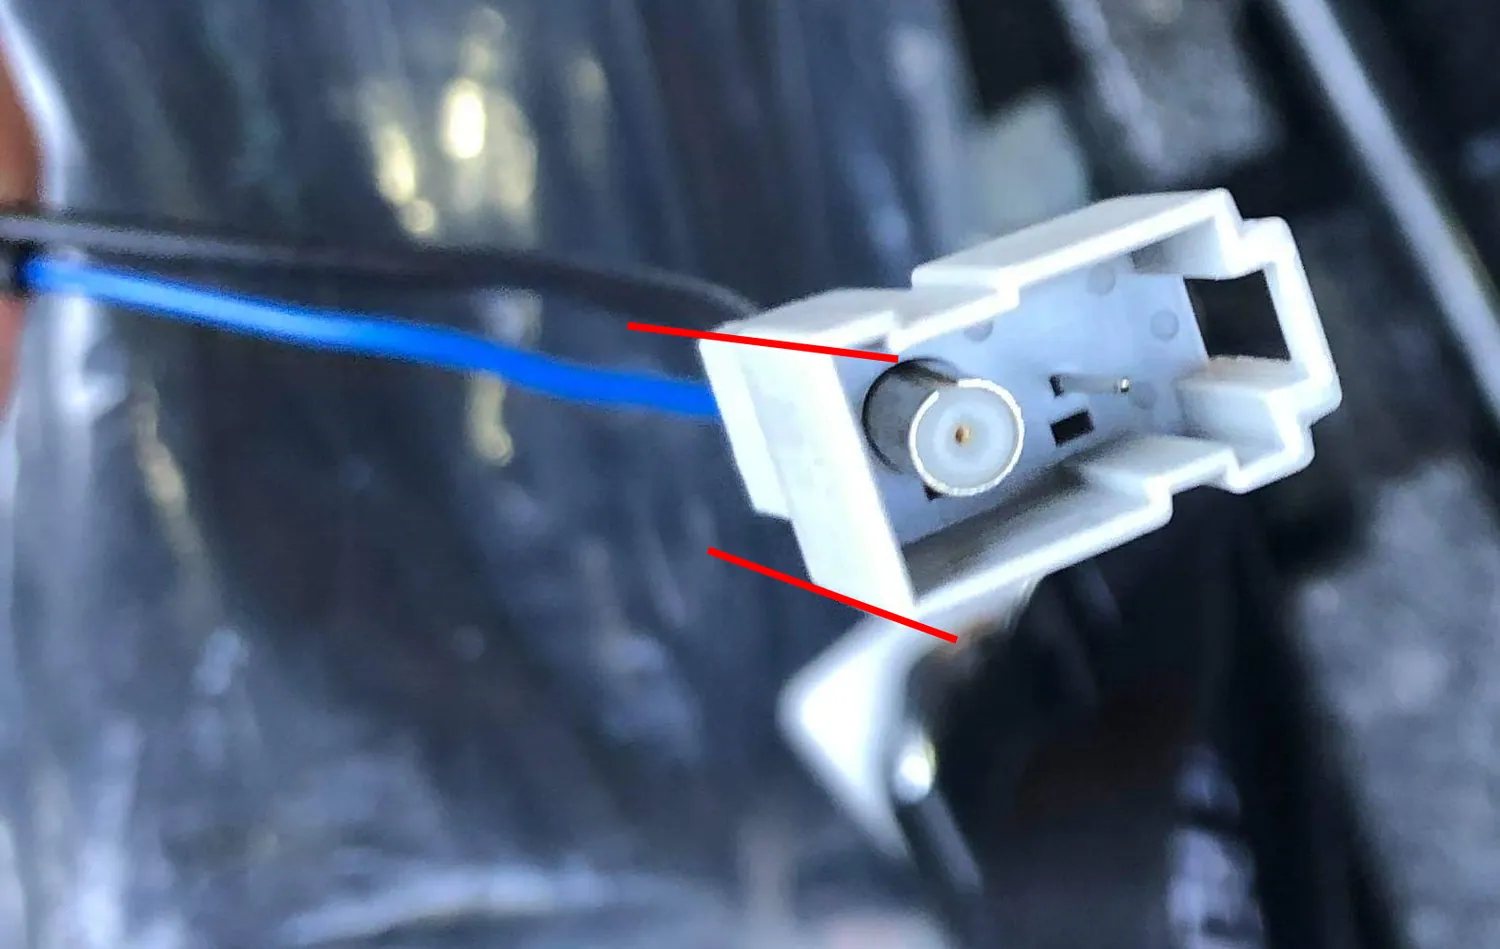
Before moving to initialization, reinstall and secure the top metal cover and front plastic shield. The reference images show the assembly at several stages; they do not establish safe connector-release technique for every receiver revision.
Factory radio initialization | 2013-2015 EX-L non-navigation
Use ignition ON, engine off , not Accessory Mode. The ExGP installation harness must stay connected to the factory receiver throughout and after initialization. At the indicated point, disconnect only the touchscreen.
- Inspect protection and routing. Confirm the top metal cover and front plastic shield are installed and secured. Route the ribbon between IC card and chassis away from pinch points.
- Connect with the vehicle off. The factory receiver should be hidden behind the dash via the middle pocket opening. Connect the ExGP install harness and all other factory harnesses except the subwoofer adapter .
- Bring the receiver partly into view. Gently lower it approximately halfway through the middle pocket opening; leave every harness connected and avoid stretching the wiring or ribbon.
- Reconnect the original touchscreen. Leave the IC card and its ribbon cable connected to the receiver.
- Turn the ignition to ON. Keep the engine off; do not use ACC.
- Clear the security lock. At the security-code screen, press and hold the factory-radio power button until initialization completes and the radio becomes operational.
- Verify. Confirm the original touchscreen and upper factory display both function.
- Turn ignition OFF. Do not disconnect power or the ExGP install harness.
- Maintain receiver power/connection. From here forward the factory radio must stay connected to the install harness.
- Disconnect the touchscreen only. Leave the receiver, install harness, IC card, ribbon, and all other radio plugs intact.
- Hide the factory receiver. Carefully push it back upward into its final position behind the dash through the middle pocket.
- Finish the aftermarket system. Reconnect remaining components, including the subwoofer adapter.
- Verify again. Turn ignition to ON, engine off, and check both original and aftermarket systems.
- Complete reassembly. Turn the vehicle off and reinstall the remaining trim.
Security lock and touchscreen troubleshooting
- Security mode returns: disconnecting power from the original radio after initialization causes it to re-enter security lock mode, requiring the initialization procedure again.
- Touchscreen not behaving normally: verify that the IC card and ribbon are fully seated and remain connected. Inspect the secured top cover and front shield, and check cable routing.
- Cannot reposition radio easily: stop rather than pulling on the harness; inspect wiring slack and the pocket opening. Work with the ignition off before handling connectors.
The EX-L initialization process described here is not the same as the 2016-2017 reduced-head-unit sequence. The latter permits temporarily removing some other plugs while retaining the ExGP harness; do not transplant that step into this procedure.
For fitment support: [email protected] .